A question that almost every person eventually asks when working with Kobo Toolbox or ODK is: how do I easily analyse ODK multiple choice, or “select_multiple” questions from ODK?
What’s the Problem analysing ODK Multiple Choice?
When you use ODK or Kobo Toolbox to collect multiple choice answers (using “select_multiple” question type), all the answers are stored in a single column in the .csv output file. The answers are simply separated by a space in that column. In order to analyze the output, the answers need to be broken out into individual columns (something that Kobo Toolbox does very nicely in their output file).
But even then, you have to produce a different bar chart or pie chart for each individual answer. You still can’t show all the answers on a single bar chart. You first need to combine the data back into a single column and link it back to the main table with a primary key….oooooohhhh, it’s complicated!!!
What’s the Solution?
Many of you probably use Excel (or [R] or SPSS or Stata or PowerBI) to analyse your ODK or Kobo data. One of the easiest ways to analyse this data is to use the FREE software Qlik Sense Desktop. In this article you’ll see how to create a simple Qlik dashboard (where you can analyse and visualize the ODK data in one software) of select_multiple data.
If you’re serious about learning this – it will probably take you 1-2 hours to work through this tutorial. But once you’ve done it, it will save you hours upon hours of time (and frustration) in the future.
Benefits of Using Qlik Sense instead of Excel:
- You don’t touch the raw data. You do the analysis right inside a Qlik script.
- It’s easy to modify your script or analysis if anything changes
- Once you set up the script, you can apply it to new raw data downloads for automatic analysis.
Step 1: Download Qlik Sense Desktop if you haven’t already
Seriously, you’ll hate it for the first three days while you get used to it. And then you’ll LOVE it for how easy it is to analyse ODK or Kobo data once you have learned the basics. The free download of Qlik Sense is here.
Step 2: Load your ODK .csv file into Qlik
This video shows you how to use the Qlik script editor to load data from Kobo or ODK.
Step 3: Split “select_multiple” answers into individual values using “subfield” in Qlik
This step is where the magic happens. It might seem scary to manage data using computer coding, but just follow my steps exactly – and you’ll be amazed.
Step 4: Analyse data/timestamps using Qlik
Make a “Filter”, a “KPI” and a bar chart of survey dates in this video.
Step 5: Replace ODK “code names” with full “Labels” that show up in your dashboard
This step is a bit complicated. So stick with it to the end. It’s really worth learning this!
Step 6: Make bar charts that show percentages instead of absolute values
When you’re displaying results from a survey, you probably want to show “% of households” that showed a behaviour.
Step 7: Finalize your dashboard
Change the colour, tweak the titles, and share your dashboard with your friends and team!
Check out these other Tutorials:
- 7 Demographic Indicators you should be Visualising
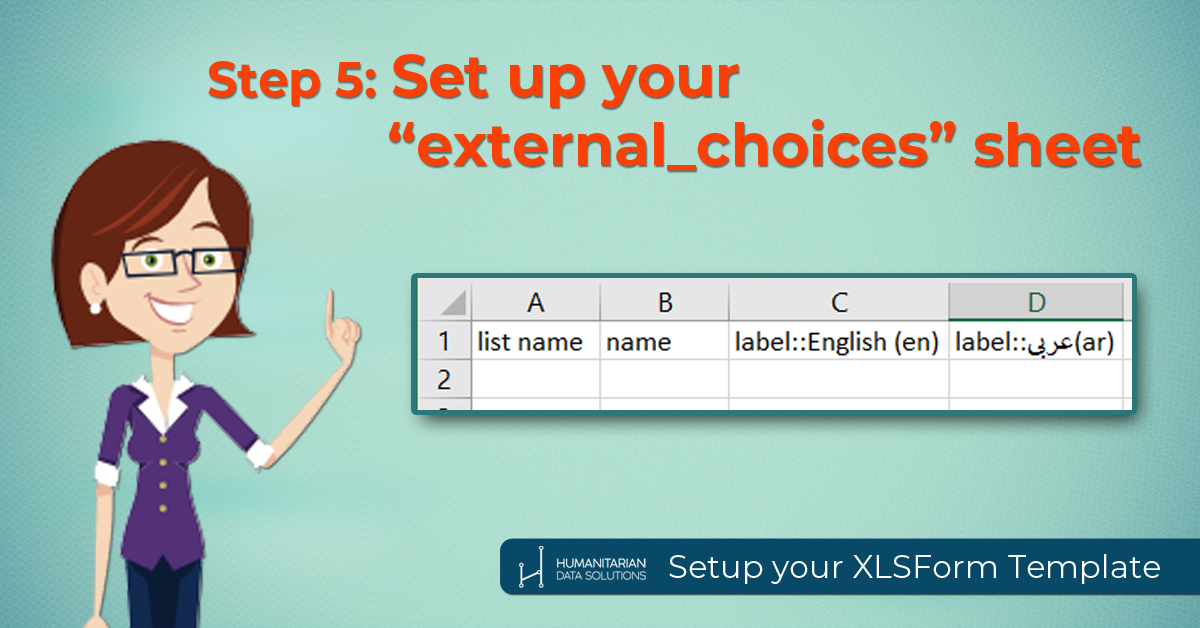
- How to set up a blank XLSForm Template
- 8 ways to check your data quality when using ODK or Kobo
- How to make a Population Pyramid in Excel for your next donor report